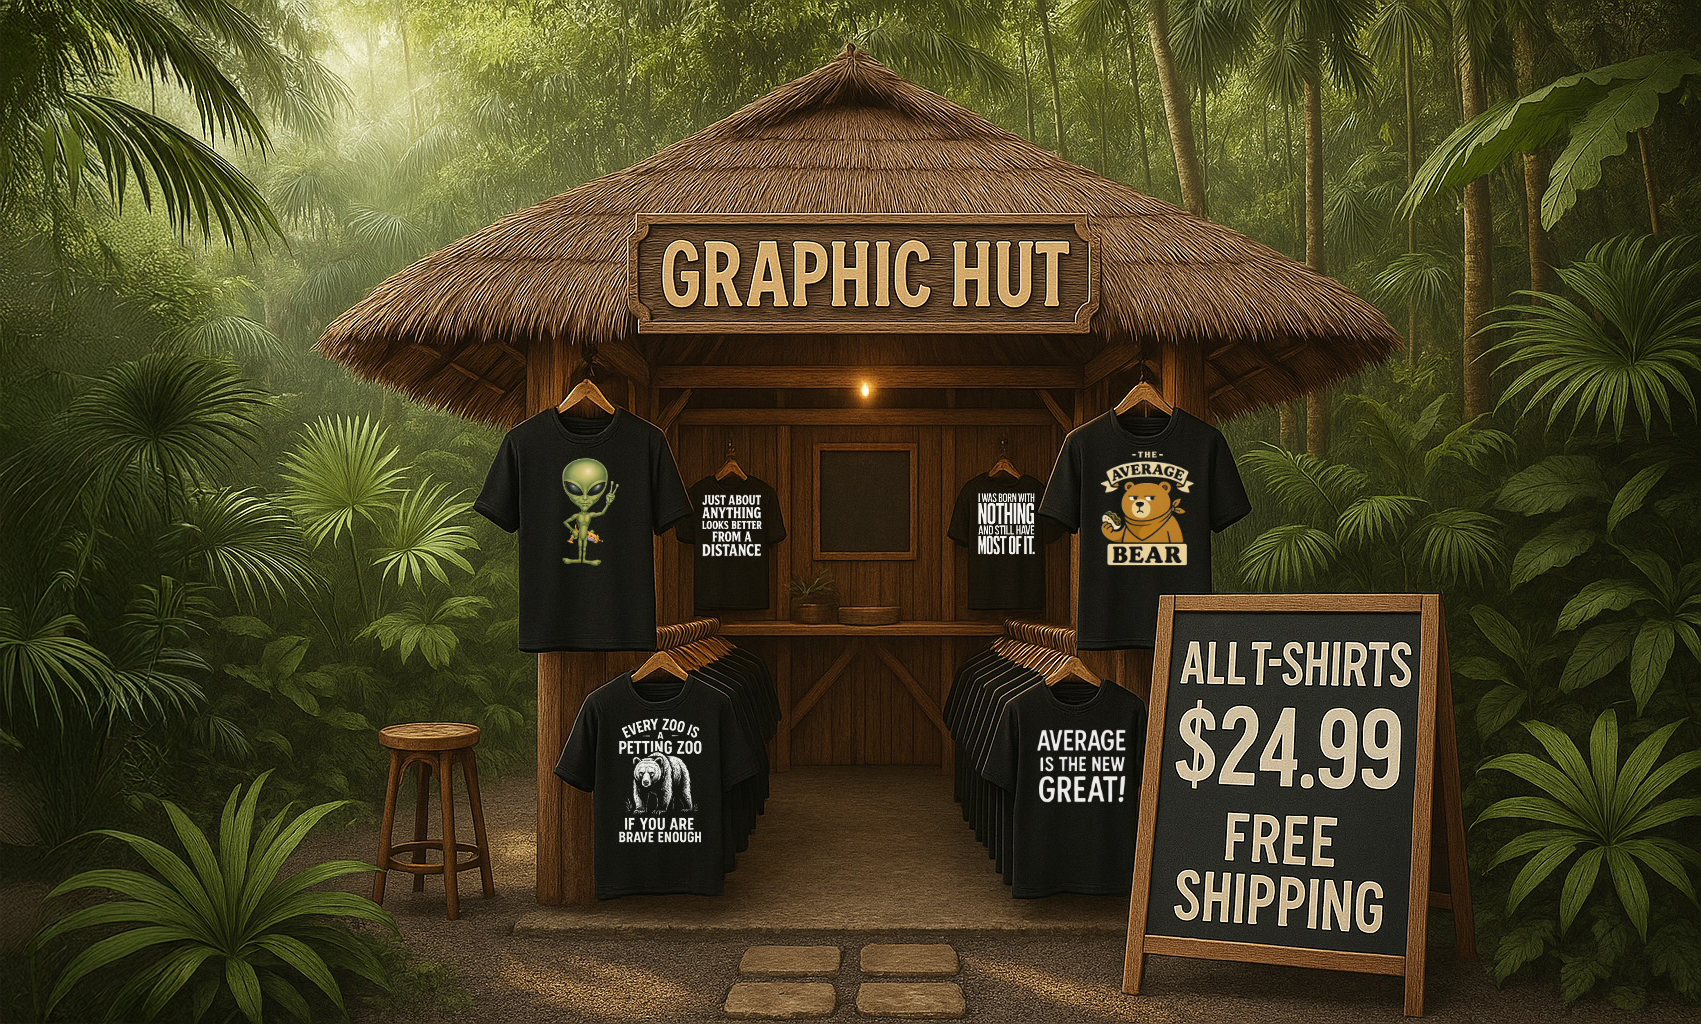
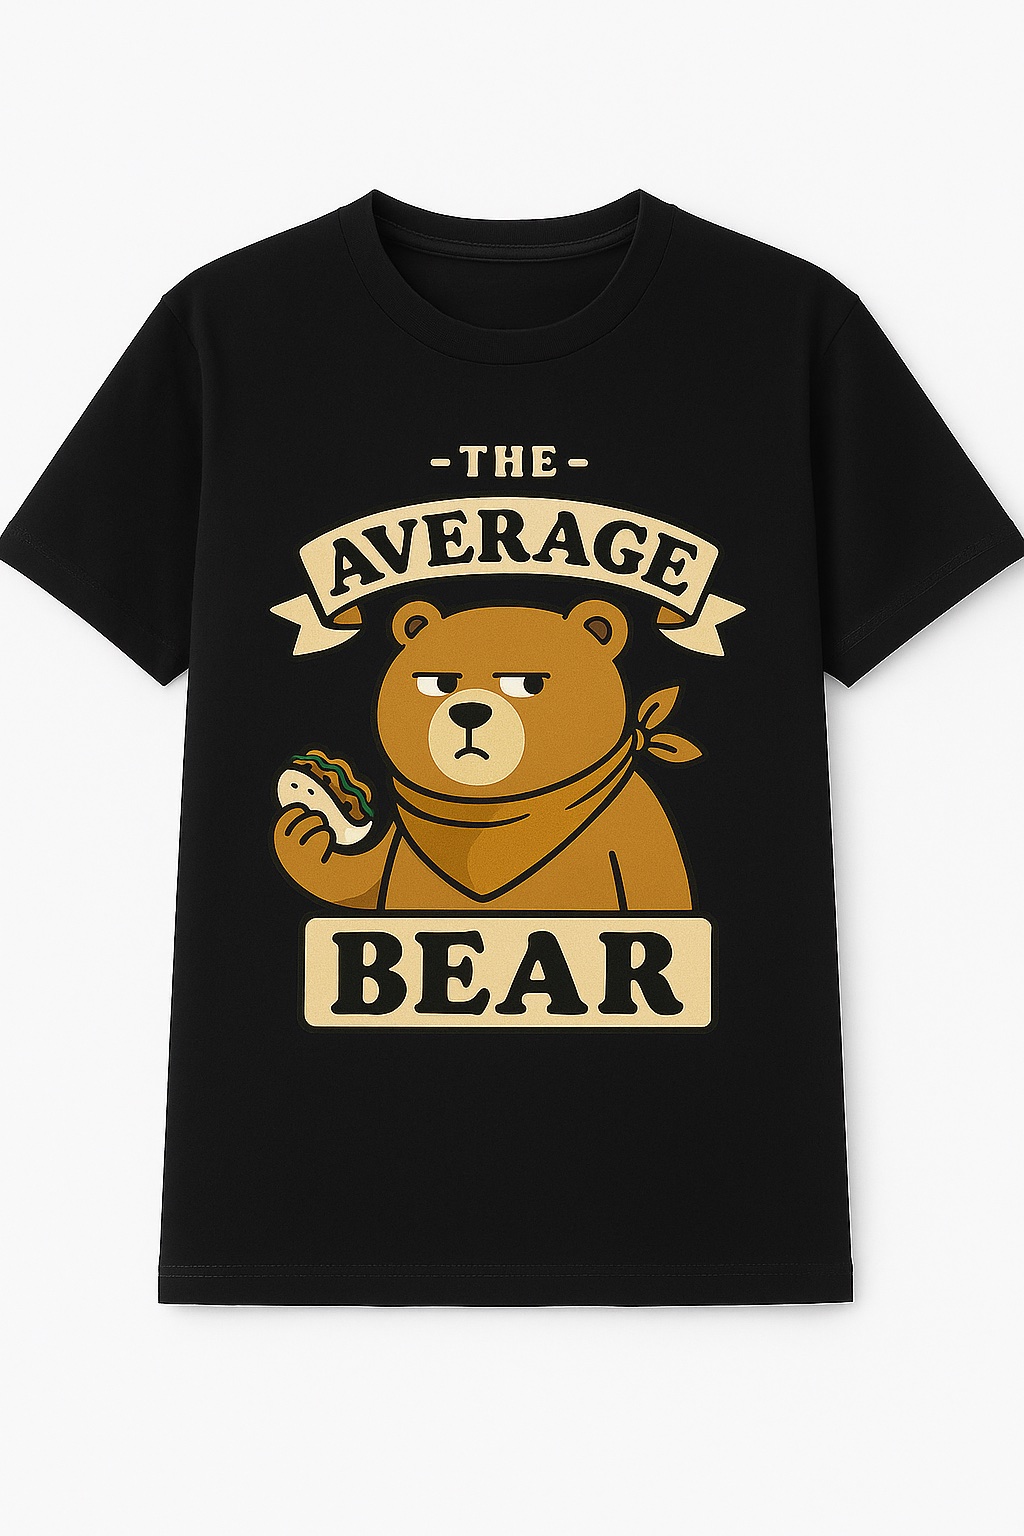
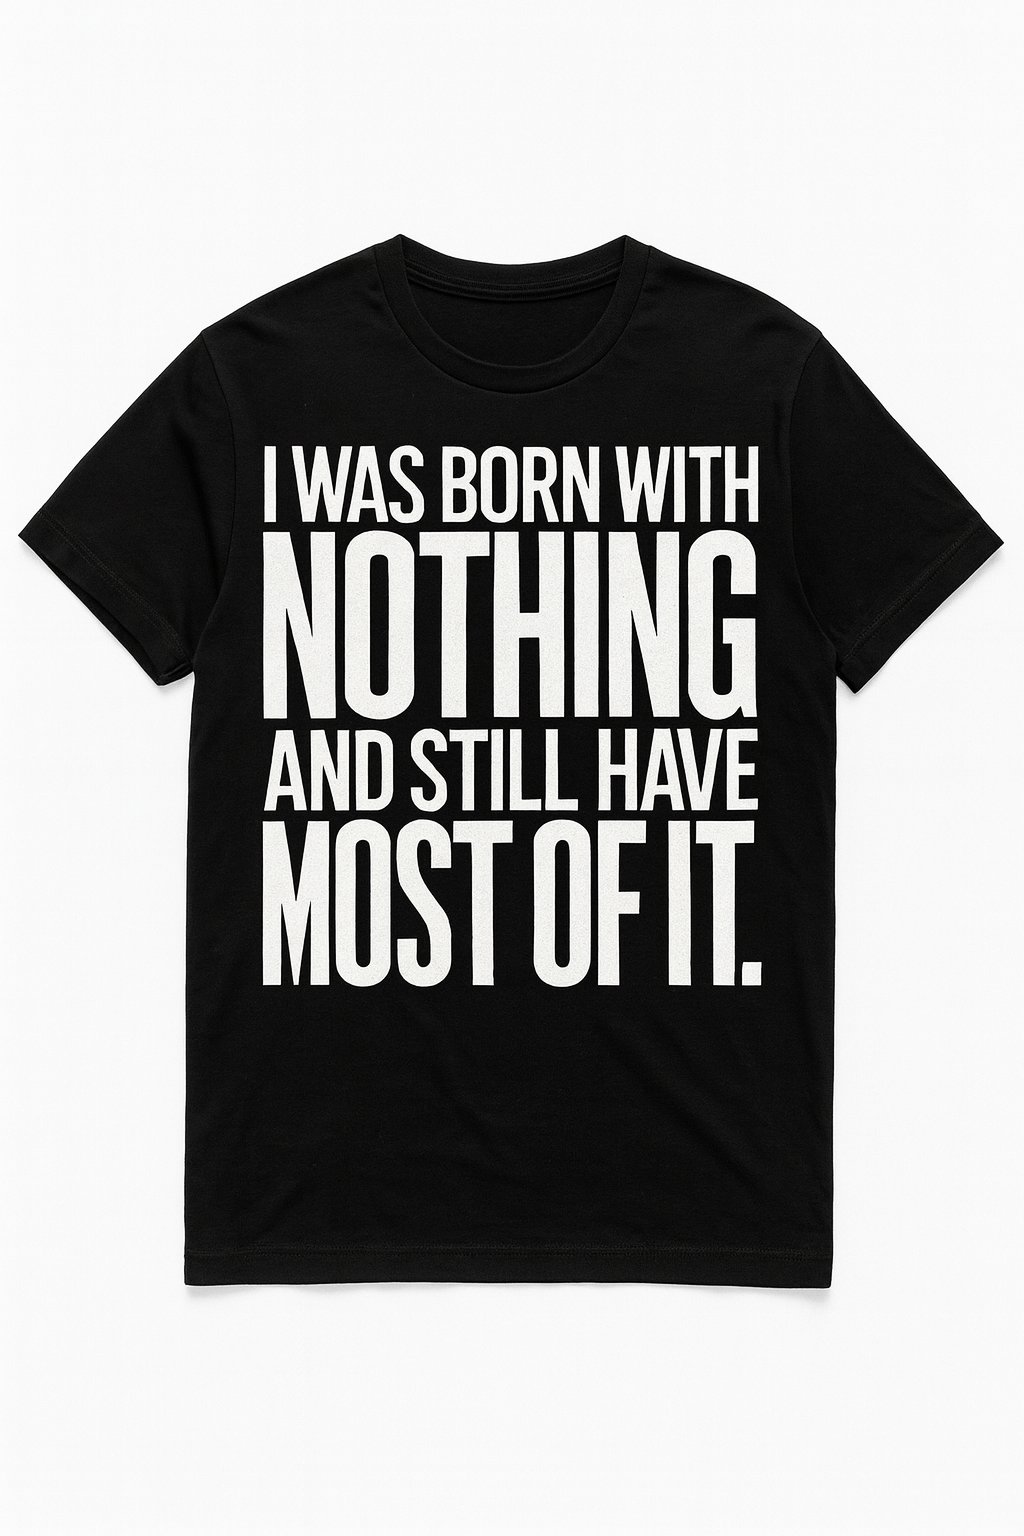
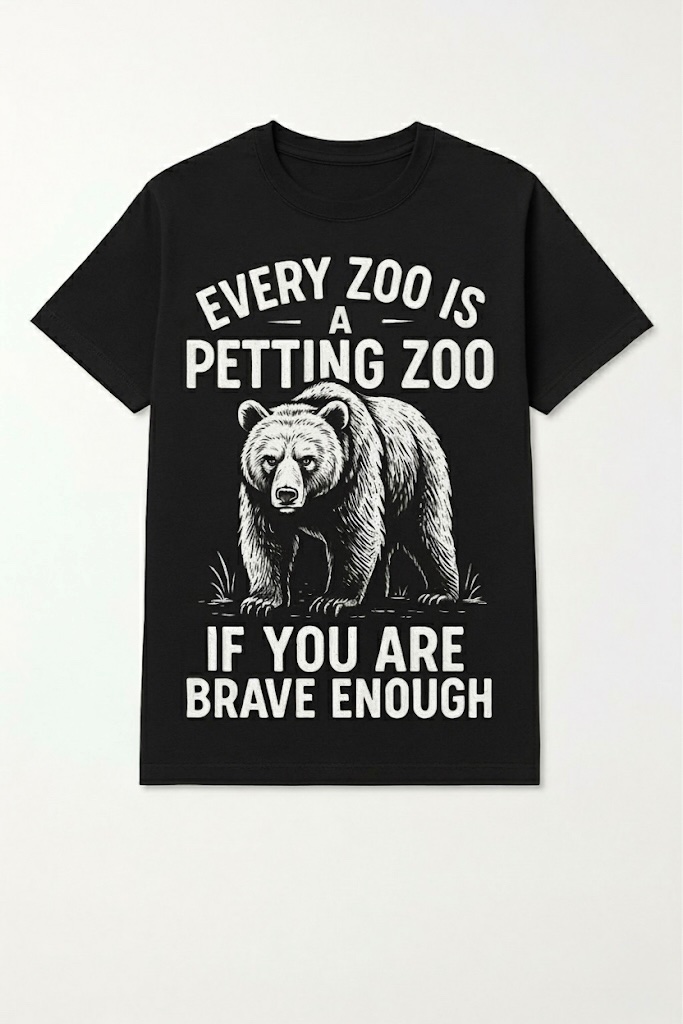
Shop bold, edgy, and hilarious graphic T-shirts at Graphic Hut. From sarcastic humor to unique statement designs, find the perfect tee that stands out.
Find the best edgy graphic tees, funny t shirts, sarcastic shirts, bold graphic apparel, cool tees online, novelty shirts, humor t shirts, unique graphic shirts, statement tees, graphic hut and more. We specialize in providing high-quality products with competitive prices and exceptional customer service.
Why Shop With Us
Secure checkout with encrypted payment processing
Fast and reliable shipping
Quality products backed by our guarantee
Responsive customer support
Easy returns and exchanges
Customer Information
Secure online shopping with SSL encryption
Multiple payment options accepted
Order tracking available
Privacy policy protected checkout
Shop with confidence at Graphic Hut. We are committed to providing an excellent shopping experience with quality products, competitive pricing, and outstanding customer service. Browse our collection today and discover why customers trust us for their shopping needs.
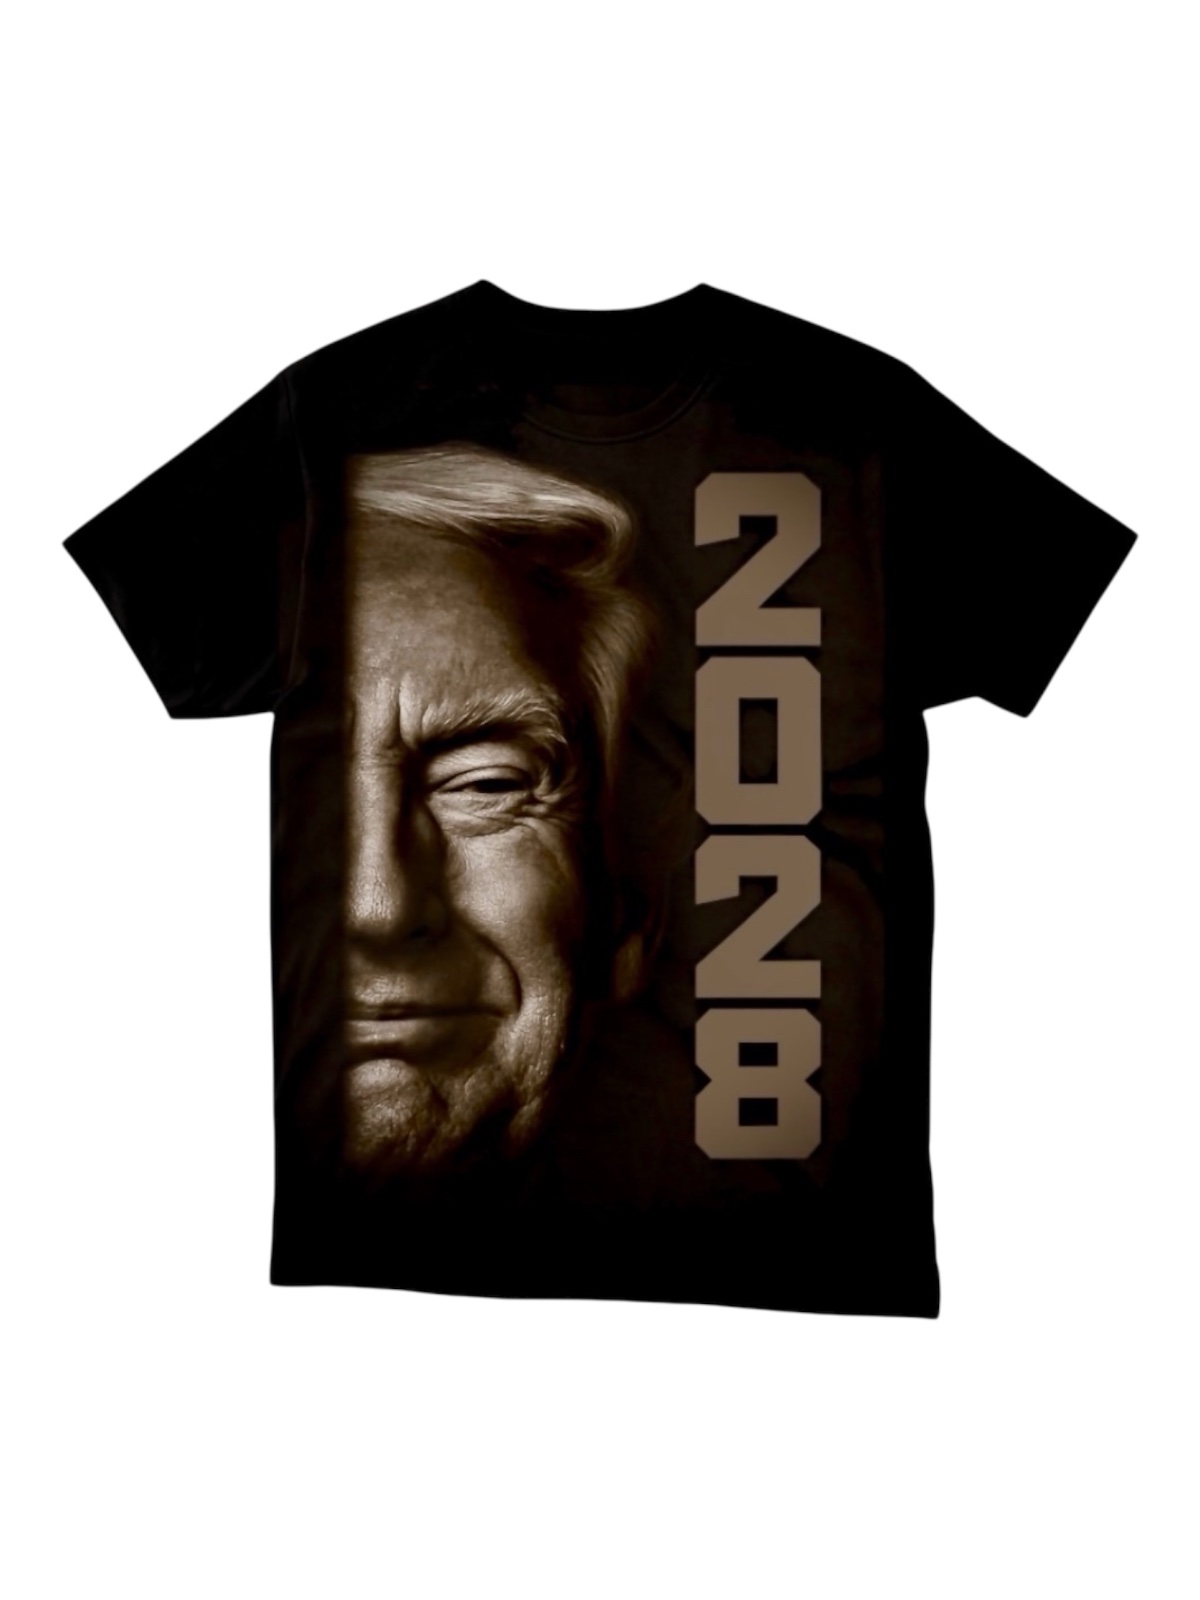
Graphic Hut - Shop Quality Products Online
Browse our collection of quality apparel and custom products at Graphic Hut
Find the best apparel, clothing, custom products, online shopping, Graphic Hut and more. We specialize in providing high-quality products with competitive prices and exceptional customer service.
Why Shop With Us
Secure checkout with encrypted payment processing
Fast and reliable shipping
Quality products backed by our guarantee
Responsive customer support
Easy returns and exchanges
Customer Information
Secure online shopping with SSL encryption
Multiple payment options accepted
Order tracking available
Privacy policy protected checkout
Shop with confidence at Graphic Hut. We are committed to providing an excellent shopping experience with quality products, competitive pricing, and outstanding customer service. Browse our collection today and discover why customers trust us for their shopping needs.